Advisor Assignments
This information provides the steps on how to manage individual Student-Advisor assignments. It is meant for the select staff across Schools and Colleges who manage advisor assignments.
![]()
Introduction
This resource provides instructions on how to assign, remove, or edit an advisor for a student. This process is for individual assignments only and is meant for administrators across the University who enter student and advisor assignments. Please refer to your School/College policies or Dean’s office for more information on who manages assignments.
⚠︎ Screen options, menus, and reports will vary by user; please note that displays may differ for you based on access that has been granted. All screens shown are for training purposes only.
Student Advisor Assignment
Navigate to the MyBU Student Full Site to access the Student Advisor page.
- Log into MyBU Student.
- Upon landing at the MyBU Student Dashboard, click on the Expand/Collapse icon.
- Scroll to the end of the menu and click the Full Site item.
- The appropriate Staff Homepage will display.
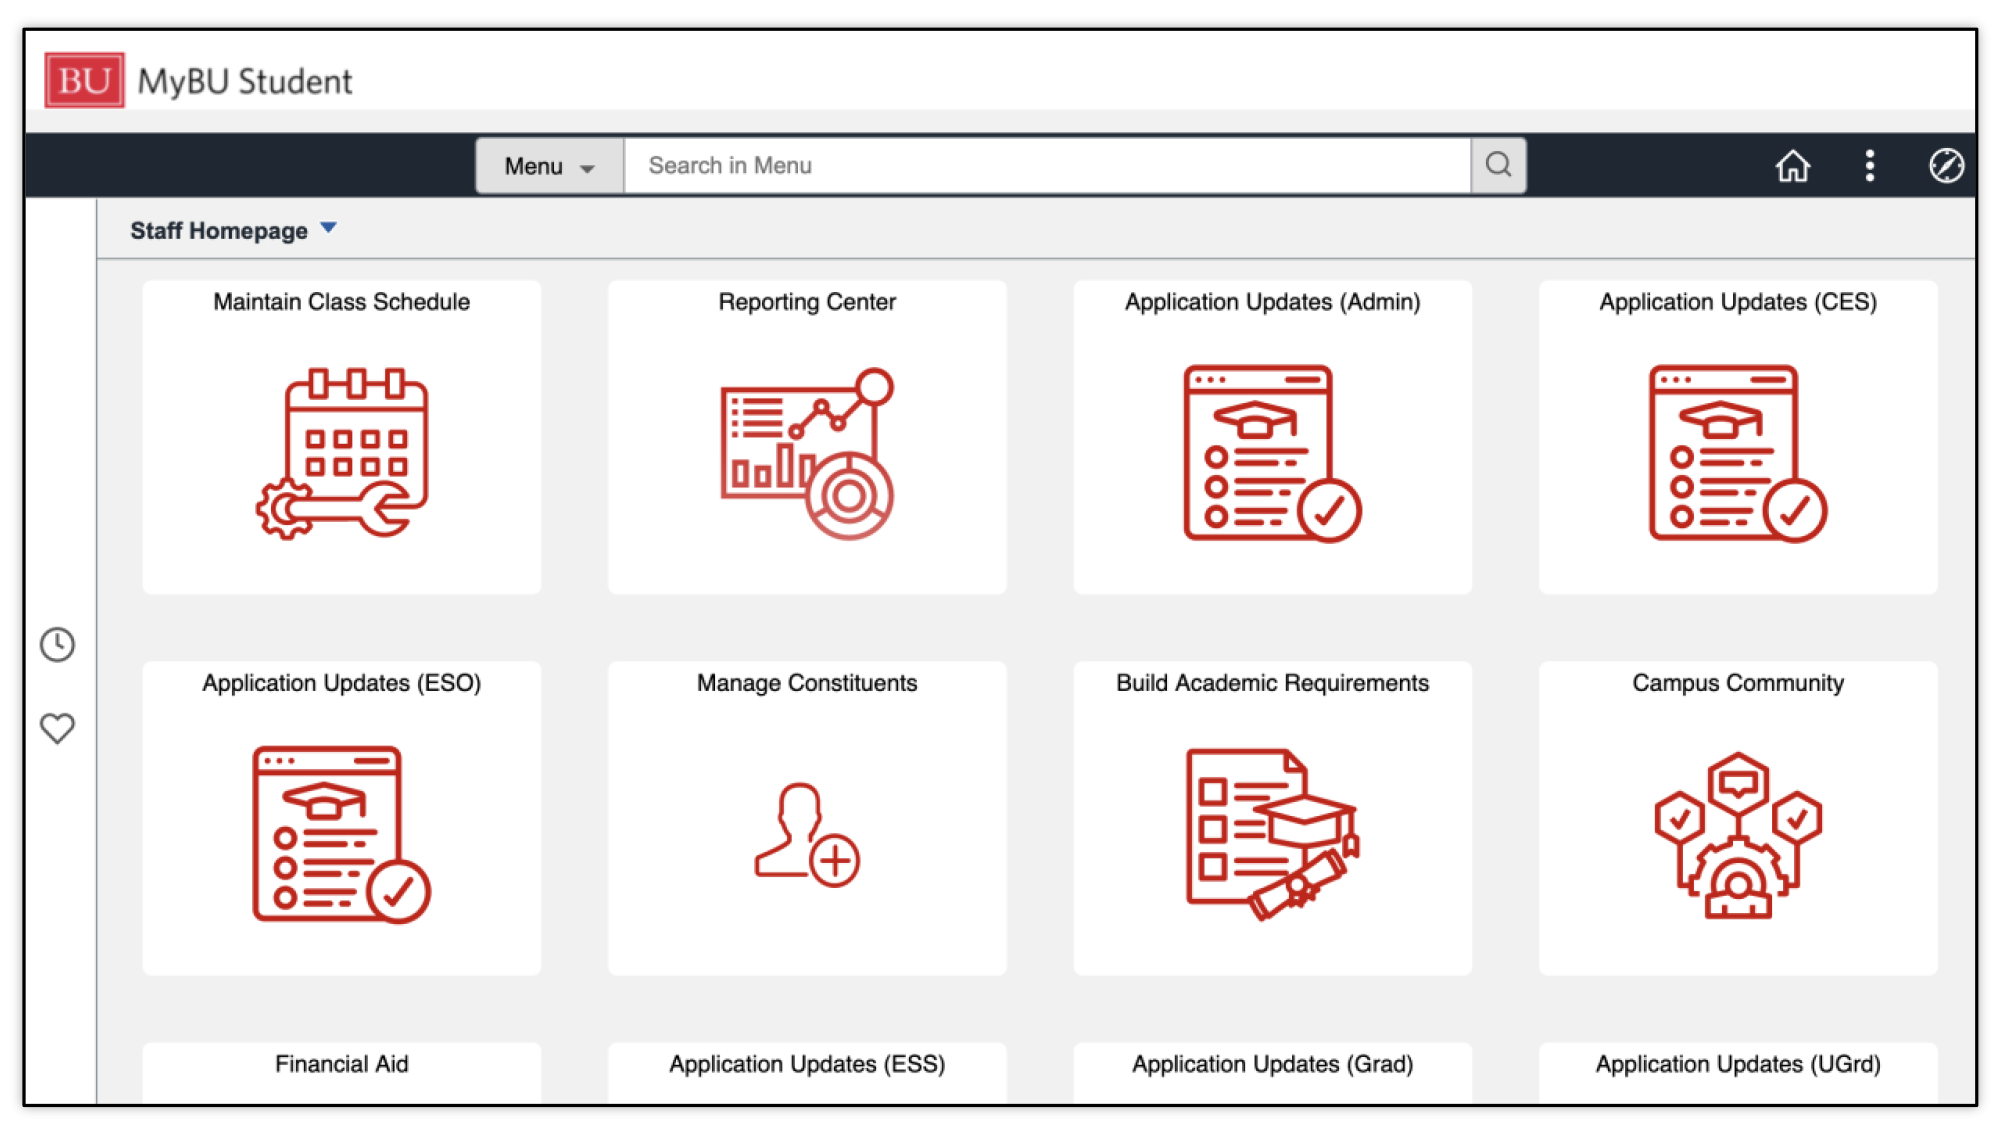
-
Click the Navigator icon in the top the right corner, click Menu, and scroll to find the Records and Enrollment menu. Navigation Path: Records and Enrollment > Student Background Information > Student Advisor.
- Enter student details in the Search Criteria fields. Click Search.
- If the UID was entered, the Student Advisor page will open. Otherwise select the desired student from the search results.
Depending on the student, there may be existing information populated in data rows in the Student Details and Academic Details sections.
For more information on Effective Dated Rows and why they are important to enter correctly, please refer to the Data Rows and Effective Dates section in the appendix of this guide.

The following sections outline steps for the various scenarios.
ADD ADVISOR
- If adding an advisor, click on the plus icon in the Student Details section to add a new row.

- Academic Institution will be prepopulated, if not enter BU001.
- Enter the appropriate Effective Date (today’s date will default; edit if needed).
If there are advisors already assigned, that data should carry over to the new Effective Dated Row that was just added. Those existing rows of advisor data can remain as is if needed.
- Click on the plus icon in the Student Academic Details section to add a new row there as well, and then begin to enter the information.
- Select Advisor Role (default will be Academic Advisor).
- Advisor Role indicates the relationship with the student. This does not impact security access. It is displayed to Students. These selections may change.
- For more information on the different types, please refer to the Advisor Information section of this guide’s appendix.
- The Advisor Number will default. Accept the value that defaults.
- This is an incremental system assigned number.
- The Academic Advisor with the lowest advisor number will receive any Action Items that are created for the student. See the Action Items for Faculty and Action Items for Advisors resources for more information.
- Verify or select the student’s Academic Career.
- Verify or select the student’s Academic Program.
- Enter or lookup the Academic Advisor’s BUID.

The checkboxes at bottom of the page are informational only. They don’t display in other areas or impact functionality.
- If there are additional advisors that need to be assigned and associated to the effective date entered, continue clicking on the plus icon in the Student Academic Details section.

- Click Save when complete.
- Click Return to Search to enter an assignment for another student.

ⓘ When adding an advisor, do not just add a row to the Student Academic Details section. Adding a row to the Student Details section first indicates to the system when that new information becomes applicable. Refer to the Data Rows and Effective Dates section in the appendix of this guide for additional details.


REMOVE ADVISOR
- If removing an advisor, click on the plus icon in the Student Details section to add a new row.
- Academic Institution will be prepopulated, if not enter BU001.
- Enter the appropriate Effective Date (today’s date will default; edit if needed).
If there are advisors already assigned, that data should carry over to the new Effective Dated Row that was just added. Those existing rows of advisor data can remain as is if needed.
- Find the advisor that needs to be removed and click on the minus icon in the Student Academic Details section.

- Click Save when complete.
- Click Return to Search to enter an assignment for another student.

ⓘ When removing an advisor, do not just add a row to the Student Academic Details section. Adding a row to the Student Details section first indicates to the system when that new information becomes applicable. Refer to the Data Rows and Effective Dates section in the appendix of this guide for additional details.
EDIT ADVISOR INFORMATION
- If editing an advisor or related information, click on the plus icon in the Student Details section to add a new row.
- Academic Institution will be prepopulated, if not enter BU001.
- Enter the appropriate Effective Date (today’s date will default; edit if needed).
If there are advisors already assigned, that data should carry over to the new Effective Dated Row that was just added. Those existing rows of advisor data can remain as is if needed.
- Find the row in the Student Academic Details section with the advisor being changed or information being edited. Edit the necessary value.
- Verify or Edit the Advisor Role.
- Advisor Role indicates the relationship with the student. This does not impact security access. It is displayed to Students. These selections may change.
- For more information on the different types, please refer to the Advisor Information section of this guide’s appendix.
- Keep the Advisor Number as is.
- This is an incremental system assigned number.
- The Academic Advisor with the lowest advisor number will receive any Action Items that are created for the student. See the Action Items for Faculty and Action Items for Advisors resources for more information.
- Verify or edit the Academic Advisor’s BUID.

The checkboxes at bottom of the page are informational only. They don’t display in other areas or impact functionality.
- If there are additional edits needed to other existing advisors, modify as appropriate.
- Click Save when complete.
- Click Return to Search to enter an assignment for another student.
ⓘ When editing existing advisor information, do not just add a row to the Student Academic Details section. Adding a row to the Student Details section first indicates to the system when that new information becomes applicable. Refer to the Data Rows and Effective Dates section in the appendix of this guide for additional details.

ADVISOR ROLE TYPES
Advisor Roles defined in the assignment indicate the type of relationship with the student, and the student can see this designation.
ⓘ NOTE: there are references to various kinds of access and security below, but the Advisor Role selection in the Student Advisor Assignment page does not dictate those permissions. The security that impacts how the advisor can interact with students in the system is defined elsewhere. The explanations provided here just provide additional context to the types of advisors.
- Academic Advisor
- Generally, professional advising staff will be assigned as ‘Academic Advisor’. They have full access to the advising records of their assigned advisees, and they will also have full access to the advising records of all undergraduates.
- A student who is assigned to one of these advisors will see the person’s name in the advising center in MyBU Student, with ‘Academic Advisor’ as their title.
- For the advisor, all students assigned to them will show up in their My Advisees list. They can look up non-assigned students through the Look Up Student page.
- Faculty Mentor
- Generally, faculty working with undergraduate students will hold the title of ‘Faculty Mentor’.
- A student who is assigned to one of these advisors will see the person’s name in the advising center in MyBU Student, with ‘Faculty Mentor’ as their title.
- Faculty Mentors will have full access to the advising records of an appropriate population – ordinarily, their assigned advisees. For the advisor, all students assigned to them will show up in their My Advisees list.
- Graduate Program Advisor
- Generally, faculty working with graduate students will hold the title of ‘Graduate Program Advisor”.
- A student who is assigned to one of these advisors will see the person’s name in the advising center in MyBU Student, with ‘Graduate Program Advisor’ as their title.
- Graduate Program Advisors generally have full access to the advising records of an appropriate population — ordinarily, their assigned advisees. For the faculty member, all students assigned to them will show up in their My Advisees list.
- First-Year Success
- The Assistant Directors of First-Year Success are staff who have full access to the advising records of their assigned students, and they will have full access to the advising records of all students.
- A student who is assigned to an Assistant Director of First-Year Success will see this individual’s name listed in the advising center in MyBU Student, with the title ‘FirstYear Success’.
- Minor Advisor
- A Minor Advisor is a faculty or staff member who is assigned to be an academic advisor to a student in an undergraduate minor.
- These individuals will have full access to the advising records of their assigned students.
- A student who is assigned a Minor Advisor will see this individual’s name listed in the advising center in MyBU Student, with the title ‘Minor Advisor’.
- Kilachand Advisor
- A Kilachand advisor is a staff member who is assigned to be an academic advisor to a group of students in Kilachand.
- A Kilachand Advisor will have full access to the advising records of all students.
- A student who is assigned a Kilachand Advisor will see this individual’s name listed in the advising center in MyBU Student, with the title ‘Kilachand Advisor’.
- Student-Athlete Support
- Student-Athlete Support is a staff member who is assigned to support a population of varsity athletes.
- Student-Athlete Support staff will have full access to the advising records of their assigned athletes.
- A student who is assigned to a Student-Athlete Support staff member will see this individual’s name listed in the advising center in MyBU Student, with the title ‘Student-Athlete Support’.
- Transfer Success
- The Assistant Director of Transfer Success is a staff member who will have full access to the advising records of their assigned students and will have full access to the advising records of all students.
- A student who is assigned to an Assistant Director of Transfer Success will see this individual’s name listed in the advising center in MyBU Student, with the title ‘Transfer Success’.
DATA ROWS AND EFFECTIVE DATES
| System Concept | Definition |
|---|---|
| Data Row | A single record or instance of information, often representing a new action or event. Ex., a new row is added when a student changes their program. Rows function in concert with effective dating.
|
| Effective Date | The date at which a piece of data is considered official or effective. The system uses effective dates to maintain a historical record of past data. Instead of deleting or overriding data, a new set of data is entered with a new effective date, which tells the system to use the new information from that date forward. |
RELATIONSHIP OF CONCEPTS
Effective dating allows storage of historical data, a view of changes in data over time, and entry of data for future periods. It’s important to track several events in the career of a student, for example, when they applied, when they accepted an offer of admission, when they added a minor, and when they graduated.
By inserting rows of data instead of changing data on an existing row, a student’s institutional history is built and available for reference. When new information is entered in this way, previous data is not lost or overwritten. To retain the accurate history, a data row is added and associated to the date when the information goes into effect: the Effective Date.
WORKING WITH ROWS
The following information is for pages that include data rows.
The number of data rows is indicated by the information in the top right corner of the box storing the data rows.
- Reminder: this could be impacted by security permissions, and whether the Include History option is selected when searching.

- To see the other data rows individually, use the arrows to navigate to the next row.
- To see all the rows expanded on the page, select View All.
- To return to viewing one row, select View 1.
- To search for a particular value, select magnifying glass icon.

If a new event or action is needed, it is necessary to add a row to input additional information into MyBU Student.
ⓘ TIP: Remember to add a row in the case of new information, do not overwrite data in existing rows in this case. This allows for an accurate record of historical events. Ensure the proper effective date is entered.
To add a row:
- Click the plus icon.
- Enter the relevant data.
- Click the Save button at the bottom of the page:
- Information entered is NOT auto saved.
Page last updated March 2026. For a PDF copy, print this webpage as a PDF. Other resource formats can also be accessed via the relevant icons below.