
Power Up! Solar Panel Build
A few weeks ago, Aleks Zosuls and I populated cells on a printed circuit board (PCB) for one of CuPID’s solar panels. It was decided to affix the solar cells to CuPID’s solar panel PCBs using double sided Kapton tape. Kapton is a thermal and electrical insulator, and with adhesive on both sides, it makes for a very robust method to affix two flat components together. The tricky part about this assembly is that the string of 6 cells needs laid down all at once, since they need to be soldered together on the side that attaches to the PCB.
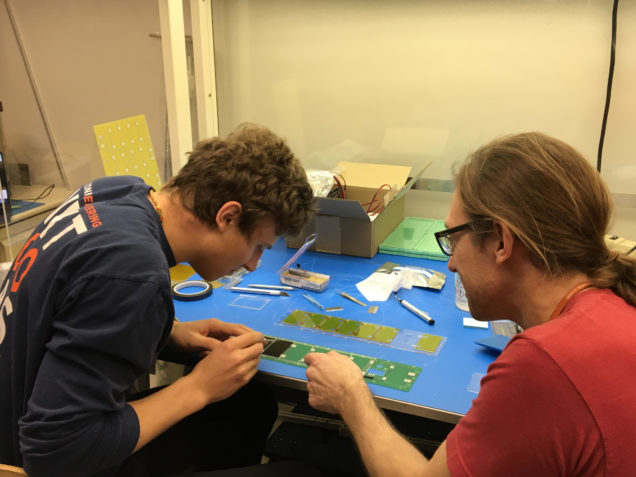
Figuring how the lessons learned on the first acrylic model would apply to the flight unit build. (I am on the left and Aleks is on the right)
Prior to building a functional solar panel using real cells, we worked out a specific assembly process using parts laser cut from a thin acrylic sheet as a model to test out assembly procedures. We ended up building two of these model solar panel boards.
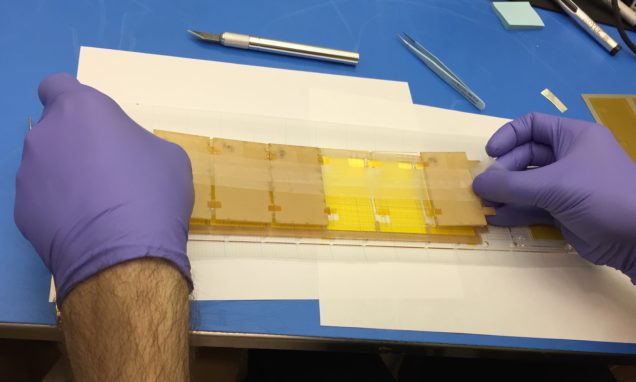
6 acrylic test cells being laid all at once in a model build. All the cells must be laid at once because they need to be soldered on the side that attaches to the PCB.
Getting 6 cells to line up perfectly onto a surface that will permanently attach them requires some specific equipment. We made special jigs and guides cut out of the acrylic sheet with a laser cutter to help align the components as they were assembled.
We also made some special tools to help us with the assembly. The double sided Kapton was cut to the proper pattern with the same laser cutter, but because it is 0.005 inches thick, it was rather hard to handle and align by hand. We made a tool to attach to a vacuum pen, which held the Kapton tape by the top release layer, so we could place it down through the jig onto the PCB (the Kapton has a plastic layer over one of the two sticky sides that you peel off).
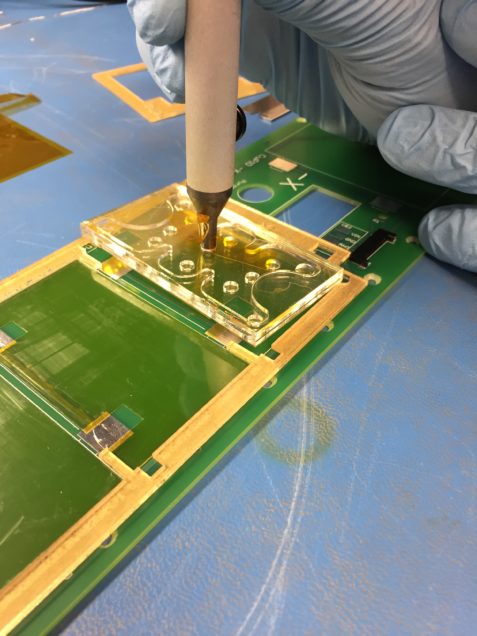
An assembly of acrylic layers was made to attach to the end vacuum tool such that the double sided Kapton could be properly held as it was laid onto the printed circuit board.
In the end, we came out with a functional solar panel for CuPID that is soon to be tested and characterized. Check out the time lapse video below and watch the 3 hour build in just 5 and a half minutes!